The Snipping Tool Windows is a built-in utility that allows users to capture screenshots quickly and easily. Whether you want to save a portion of your screen, document an issue, or create a tutorial, the Snipping Tool Windows is a handy tool to have at your disposal. In this article, we will explore the Snipping Tool Windows, how to use it, and why it is a valuable feature for anyone using a Windows computer.
What is the Snipping Tool Windows?
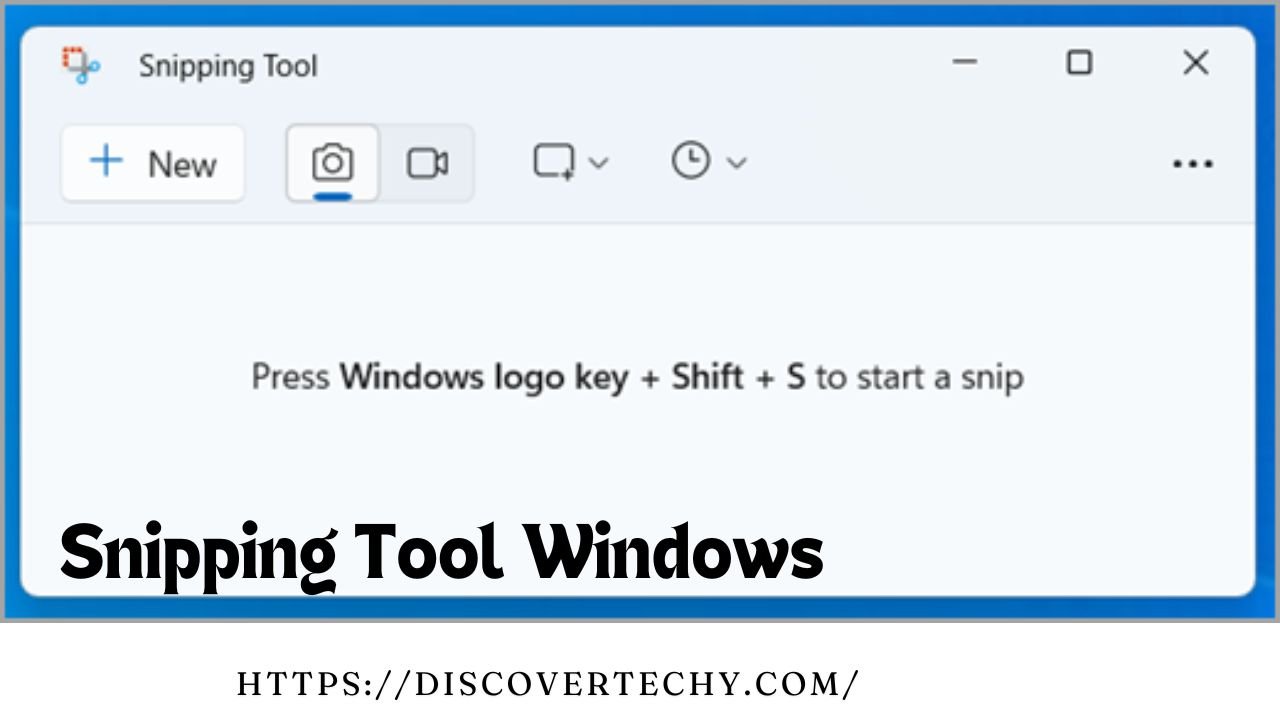
The Snipping Tool Windows is a simple yet powerful screenshot tool that comes pre-installed on most Windows operating systems. It allows users to capture specific parts of their screen, whether a small section, an open window, or the entire screen. The captured image can be saved, edited, or shared as needed.
Unlike the traditional “Print Screen” button on your keyboard, which captures the entire screen, the Snipping Tool Windows gives you more control over what you want to capture. This makes it an ideal choice for those who need to create detailed screenshots or focus on specific areas of their screen.
Different Types of Snips
One of the best features of the Snipping Tool Windows is its flexibility. It offers several different types of snips, which allow you to capture your screen in various ways:
- Free-form Snip: This option lets you draw any shape you like around the area you want to capture. It’s perfect for when you need to capture an irregularly shaped part of your screen.
- Rectangular Snip: This is the most commonly used snip. You can click and drag to create a rectangular selection on your screen. It’s ideal for capturing specific screen sections with clean, straight edges.
- Window Snip: This option allows you to select and capture the contents of an open window with just a click if you only want to capture a specific window.
- Full-screen Snip: This option captures your entire screen. It’s similar to the “Print Screen” button but is more convenient as the image is automatically opened in the Snipping Tool Windows for editing and saving.
How to Use the Snipping Tool Windows
Using the Snipping Tool Windows is easy. Here’s a step-by-step guide on how to use it:
- Opening the Snipping Tool Windows: Type “Snipping Tool” into the search bar next to the Start menu and click on the app when it appears. You can also find it in the “Windows Accessories” folder within the Start menu.
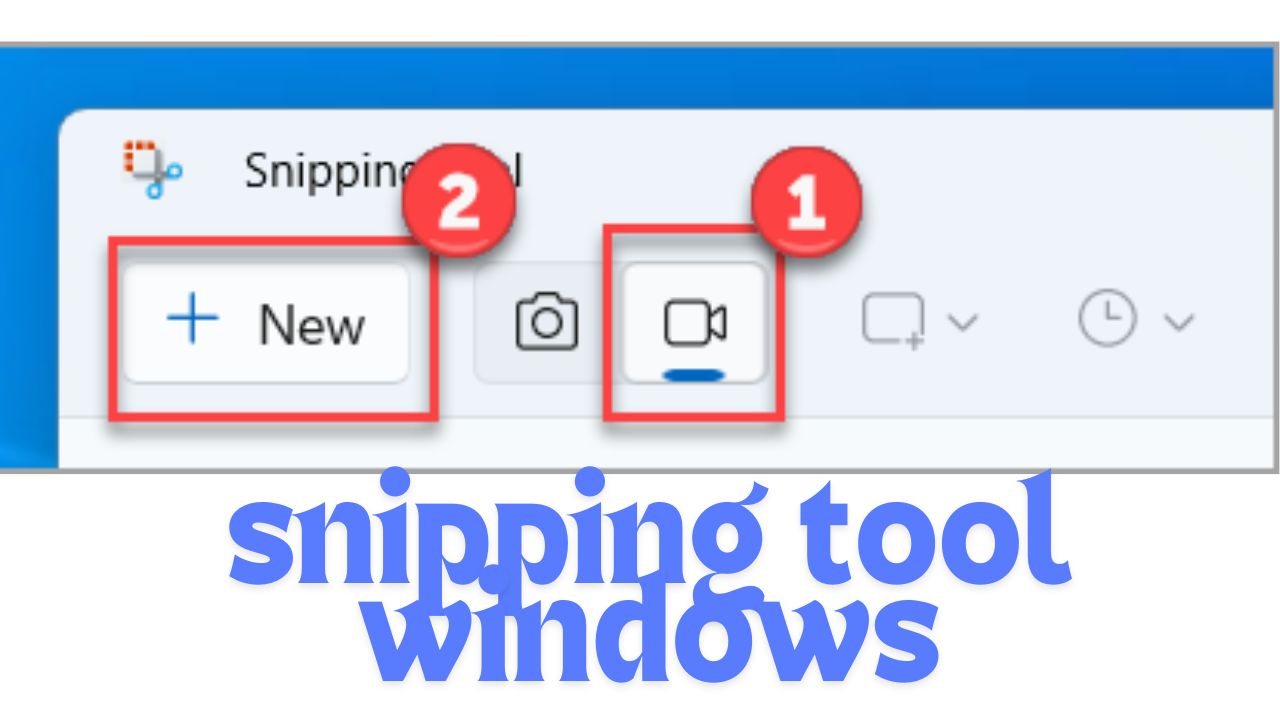
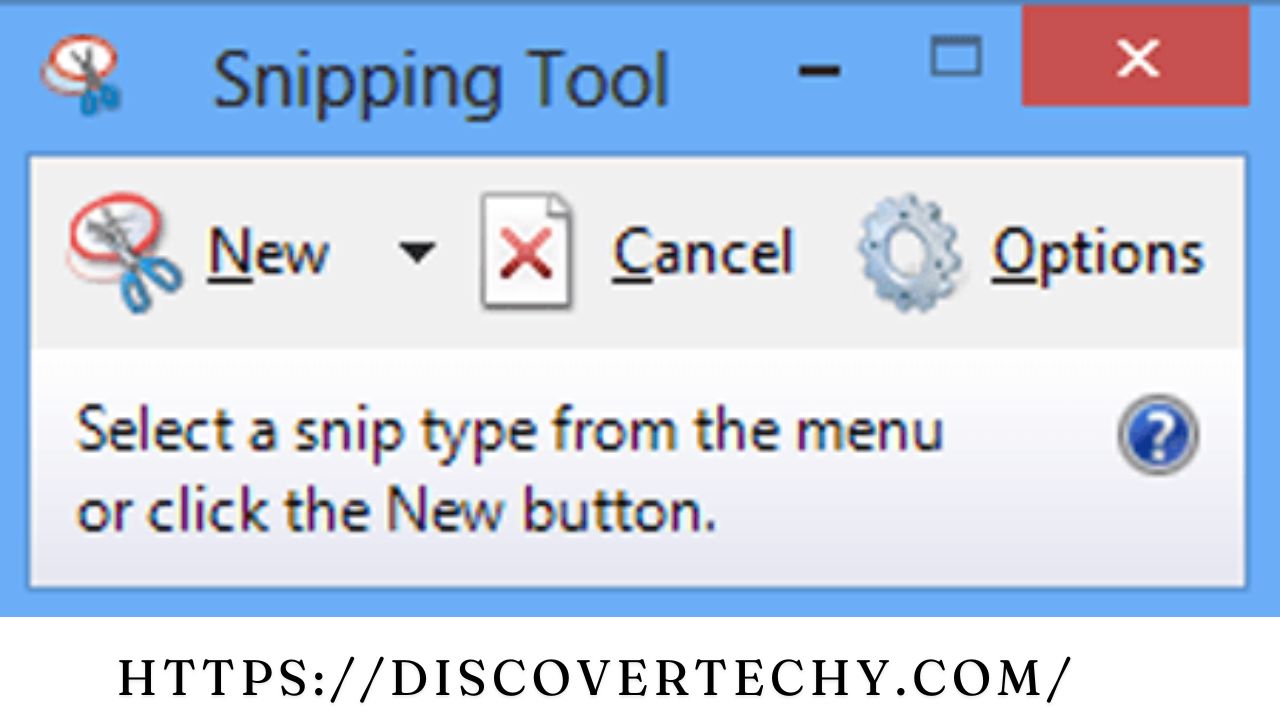
- Choosing a Snip Mode: Once the tool is open, you’ll see a small window with several options. Click on the “Mode” button to choose the type of snip you want to create (Free-form, Rectangular, Window, or Full-screen).
- Taking the Snip: After selecting your snip mode, your screen will dim slightly, and you can now use your mouse to capture the desired area. For a free-form snip, you can draw around the area, while for a Rectangular Snip, you can click and drag to create a rectangle.
- Editing the Snip: Once you’ve taken it, it will automatically open in the Snipping Tool Windows. Here, you can use the built-in editing tools to highlight, draw, or make notes on your snip.
- Saving the Snip: After editing, you can save your snip by clicking on the “File” menu and selecting “Save As.” Please choose your desired file format (like PNG or JPEG), give the name to your file, and save it to your preferred location.
- Sharing the Snip: If you want to share your snip, copy it by clicking on the “Copy” button or email it directly via email using the “Send Snip” option.
Keyboard Shortcuts for the Snipping Tool Windows
To make using the Snipping Tool Windows even faster, there are several keyboard shortcuts you can use:
- Ctrl + N: Create a new snip.
- Ctrl + S: Save the current snip.
- Ctrl + C: Copy the snip to the clipboard.
- Ctrl + P: Print the snip.
These shortcuts can save you time, especially if you frequently use the Snipping Tool Windows.

Why Use the Snipping Tool Windows?
The Snipping Tool Windows is incredibly useful for a variety of reasons. Whether you are a student, a professional, or just someone who likes to capture and share screenshots, this tool offers several benefits:
Easy to Use
The Snipping Tool Windows is designed with simplicity in mind. Even if you need to be more tech-savvy, you can easily capture and edit screenshots with just a few clicks. The user interface is straightforward, and the tool’s functions are intuitive.
Saves Time
The Snipping Tool Windows can save a lot of time, especially compared to traditional screenshot methods. Instead of capturing your entire screen and having to crop the image later, you can snip exactly what you need in one go. The built-in editing tools also allow you to make quick annotations without opening a separate image editor.
Versatile
The Snipping Tool Windows is versatile enough to meet the needs of various users. Whether you need to capture a small section of your screen, a specific window, or the entire screen, this tool covers you. The different snip modes allow you to capture your screen exactly how you want.
Ideal for Tutorials and Documentation
If you need to create tutorials, guides, or documentation, the Snipping Tool Windows is an excellent tool. You can easily capture step-by-step images of your screen, annotate them with the built-in tools, and save them in a format that’s easy to share or embed in documents.
No Need for Third-Party Software
Because the Snipping Tool Windows is a built-in feature of Windows, you don’t need to download or install any additional software. This saves space on your computer and ensures that your screenshots are saved securely without the risk of using potentially harmful third-party apps.
Conclusion
The Snipping Tool Windows is a simple yet powerful utility that offers a quick and easy way to capture, edit, and share screenshots. Whether you need to document a problem, create a tutorial, or capture a funny moment on your screen, the Snipping Tool Windows is perfect. Its different snip modes, easy-to-use interface, and built-in editing tools make it a valuable feature for anyone using a Windows computer.
If this is your first time using the Snipping Tool Windows, try it. It has become one of your go-to tools for capturing and sharing images from your screen.